本文主要记录在Ubuntu 16.04操作系统中搭建GitLab服务器的操作记录
前言
GitLab 是一个用于仓库管理系统的开源项目。使用Git作为代码管理工具,并在此基础上搭建起来的web服务.可通过Web界面进行访问公开的或者私人项目,它拥有与Github类似的功能,能够浏览源代码,管理缺陷和注释.可以管理团队对仓库的访问,它非常易于浏览提交过的版本并提供一个文件历史库,团队成员可以利用内置的简单聊天程序(Wall)进行交流。它还提供一个代码片段收集功能可以轻松实现代码复用.
安装依赖包
1 | sudo apt-get install curl openssh-server ca-certificates postfix |
执行完成后,出现邮件配置,选择Internet Site这一项,确定
添加清华镜像源
- 添加Gitlab的GPG公钥
1 | curl https://packages.gitlab.com/gpg.key 2> /dev/null | sudo apt-key add - &>/dev/null |
- 添加源
sudo vim /etc/apt/sources.list.d/gitlab-ce.list,加入如下语句:
1 | deb https://mirrors.tuna.tsinghua.edu.cn/gitlab-ce/ubuntu xenial main |
安装gitlab-ce
1 | sudo apt-get update |
会下载400多MB的,安装完成会占用1GB多的空间,请确保服务器空间充足
启动各项服务
1 | sudo gitlab-ctl reconfigure |
检查GitLab是否安装好并且已经正确运行
1 | sudo gitlab-ctl status |
得到如下结果,说明Gitlab运行正常
1 | run: gitaly: (pid 25122) 1215s; run: log: (pid 17658) 2960s |
配置gitlab external_url访问规则
- 修改gitlab.rb配置文件
1 | sudo vim /etc/gitlab/gitlab.rb |
1 | - external_url 'http://gitlab.example.com' |
- 添加防火墙规则
1 | ## 开放自定义端口访问(上面定义的9876端口) |
启动sshd和postfix服务
1 | sudo service sshd start |
浏览页面并设置密码
浏览器输入http://192.168.2.200:9876(如果使用的默认端口则为http://192.168.2.200),将192.168.2.200替换为你的服务器地址.
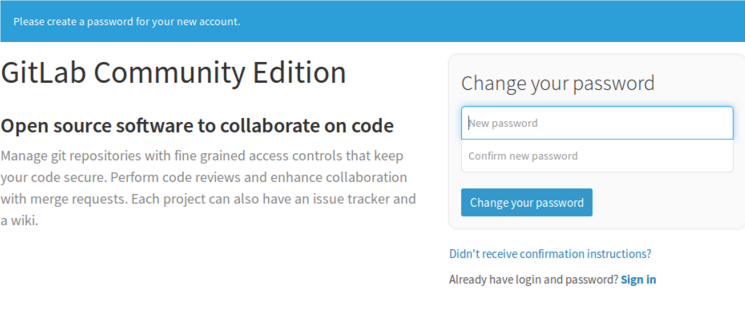
第一次进入后会出现修改密码的页面
输入密码确认。其默认用户为root
然后可以修改用户名密码或者注册新用户等
创建组、项目
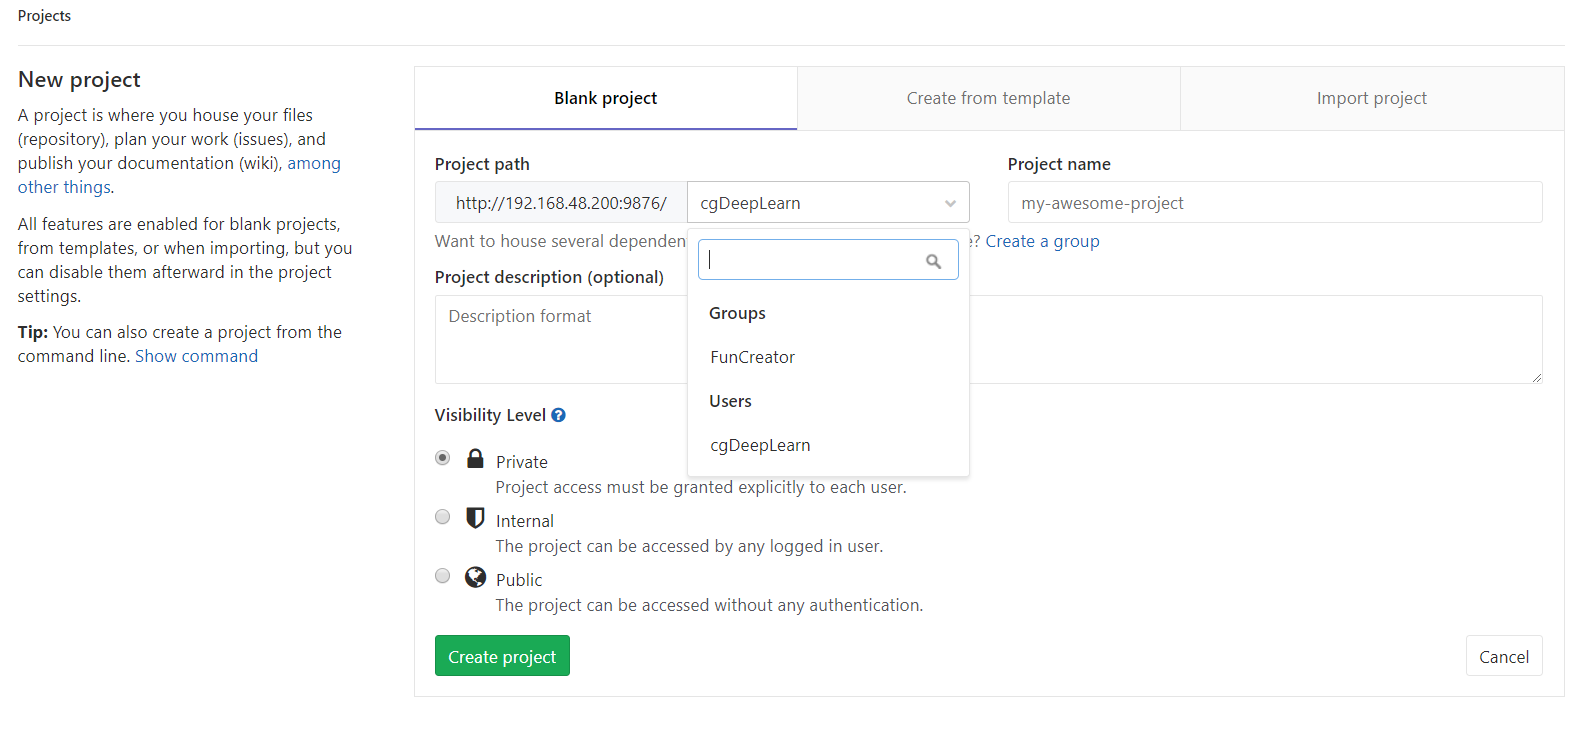
当然也可以从github等仓库导入
添加ssh-key等
这和github等相同